
ASP.NET Core is an open-source framework that can be used to create web applications and services that can run cross-platform on Windows, macOS, and Linux. ASP.Net Core Web API is a RESTful service that handles requests via actions within controllers following the MVC (Model-View-Controller) pattern without the views. In this post we will go over creating an ASP.Net Core Web API using Visual Studio Community.
Getting started
If you don’t have it already feel free to download and install Visual Studio Community with the ASP.NET and web development workload. Open Visual Studio and select “Create a New Project”. You will be presented with the following:
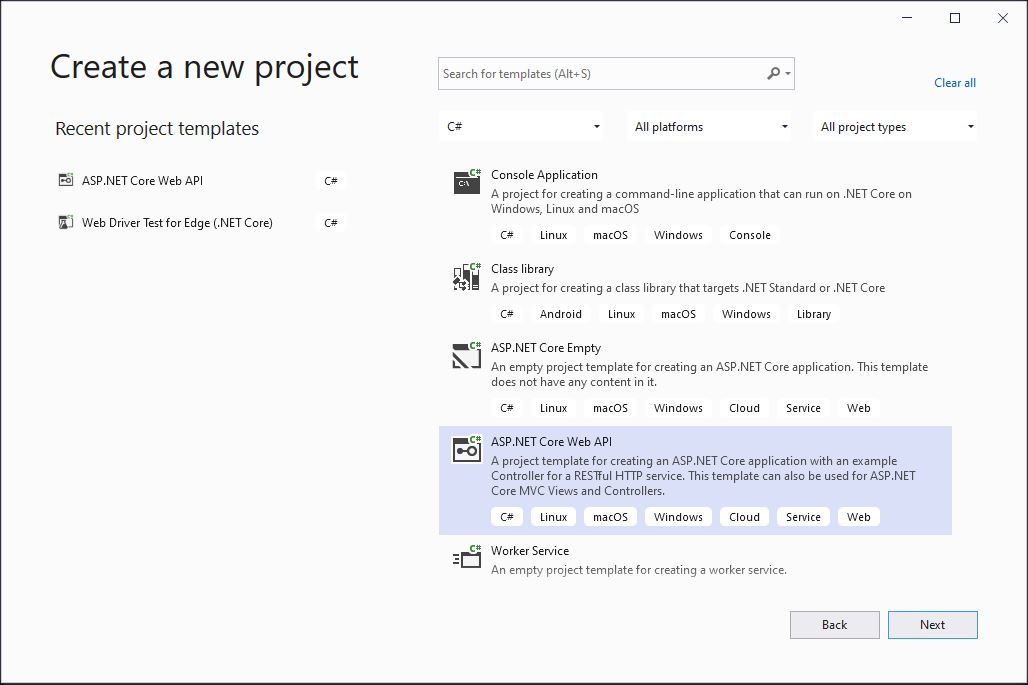
You will need to find the “ASP.Net Core Web API” template then click “Next”.

Enter a name for your project and select an appropriate location. Do not be tempted to click the checkbox for placing the solution within the project directory as most of the time you will be introducing multiple projects to a solution and it gets awkward when one project has all that power. Click “Next”.

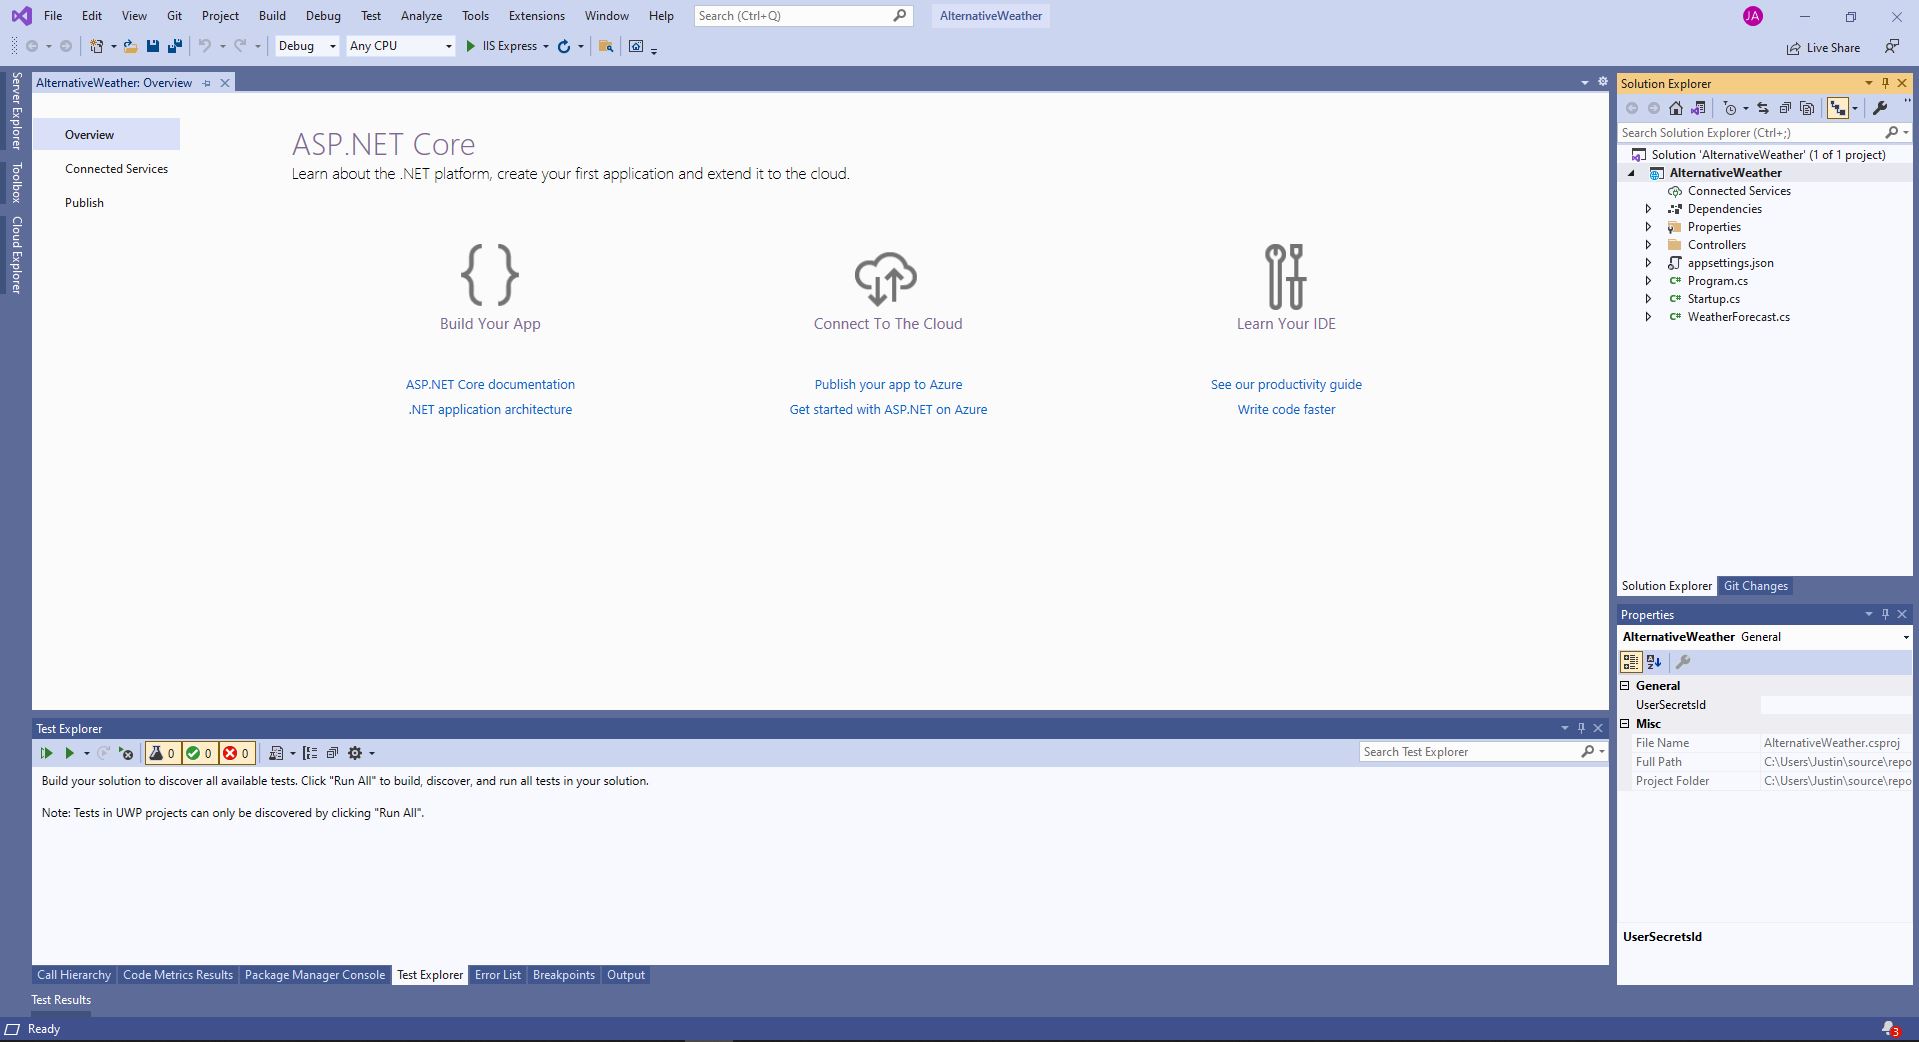
In this window, we’ll keep the default options as set, make sure the Target Framework is .NET 5.0. If you don’t have .NET 5.0 as an option you will need to update Visual Studio to 16.8.0 or higher. Click “Create” and you will be presented with Visual Studio as follows:
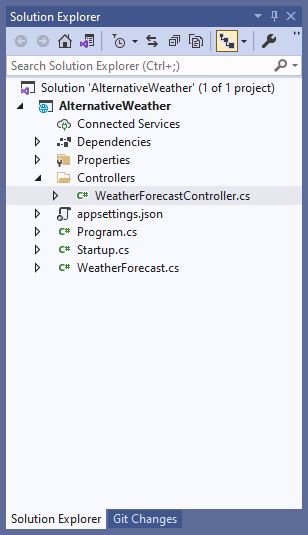
Controllers
Let’s look at the Controllers and open the WeatherForcastController.cs file from the Solution Explorer:
Controllers are classes that make up the backbone of the web API whose methods, otherwise known as action methods, represent the endpoints of the web API. To create a controller, you will need to create a class then apply the ApiController attribute and derive the class from ControllerBase as can be seen in the WeatherForecastController file.
[ApiController]
[Route("[controller]")]
public class WeatherForecastController : ControllerBase
The methods inside the controller class can be made into action methods or endpoints by applying an HttpMethodAttribute such as HttpGetAttribute, HttpPostAttribute, HttpDeleteAttribute, HttpPutAttribute, HttpPatchAttribute, etc. In the WeatherForcastController class there is a method with the HttpGet attribute applied that will return a collection of WeatherForecast that is randomly generated.
[HttpGet]
public IEnumerable Get()
{
    var rng = new Random();
    return Enumerable.Range(1, 5).Select(index => new WeatherForecast
    {
        Date = DateTime.Now.AddDays(index),
        TemperatureC = rng.Next(-20, 55),
        Summary = Summaries[rng.Next(Summaries.Length)]
    })
    .ToArray();
}
In other cases, you will probably want to return a specific status code or some other ActionResult. This can be done by having an ActionResult as a return type and returning a method from ControllerBase such as CreatedAtAction, Accepted, BadRequest, Challenge, etc. An example:
// add this to your using section at the top of the file
using System.Collections.Concurrent;

// add the following to the controller class
private static ConcurrentDictionary<string, WeatherForecast> SavedWeatherForecasts =
    new ConcurrentDictionary<string, WeatherForecast>();

[HttpPost]
public ActionResult Post(WeatherForecast weatherForecast)
{
    if (!SavedWeatherForecasts.ContainsKey(weatherForecast.Date.ToString("yyyy-MM-dd")))
    {
        if (SavedWeatherForecasts.TryAdd(weatherForecast.Date.ToString("yyyy-MM-dd"), weatherForecast))
        {
            return CreatedAtAction(nameof(GetByDate), new { dateTime = weatherForecast.Date.ToString("yyyy-MM-dd") },
                weatherForecast);
        }
        ModelState.AddModelError("WeatherForecastCouldNotBeAdded", "This weather forecast could not be added.");
    }
    ModelState.AddModelError("WeatherForecastAlreadyExists", "A weather forecast for this date already exists.");
    return BadRequest(ModelState);

    }

    [HttpGet("[action]/{dateTime}")]
    public ActionResult GetByDate(DateTime dateTime)
    {
        if (SavedWeatherForecasts.ContainsKey(dateTime.ToString("yyyy-MM-dd")))
        {
            return SavedWeatherForecasts[dateTime.ToString("yyyy-MM-dd")];
        }
        return NotFound(dateTime);
    }
We add a collection to store weather forecasts, a post action method to store weather forecast in the collection, and a get action method to get the weather forecast by date. Note that without the route attribute applied to the GetByDate there would be a route exception during runtime caused by multiple endpoints having the same route i.e., Get and GetByDate.
Routing
Routing is used to match incoming HTTP requests and dispatch those requests to the application’s endpoints or action methods via defined route definitions. This matching process will also extract values from the request URL to be used for request processing and as parameters in action methods, more information about route templates can be found at the route templates reference page. By default, route definitions are built through route attributes applied to the controller classes and action methods as we’ve seen above. It is also possible to define routing through the startup code or even a combination of both.
Startup
Navigating over to Startup.cs, you’ll find the Startup class contains two methods. Let’s go over ConfigureServices:
// This method gets called by the runtime. Use this method to add services to the container.
public void ConfigureServices(IServiceCollection services)
{
    services.AddControllers();
    services.AddSwaggerGen(c =>
    {
        c.SwaggerDoc("v1", new OpenApiInfo { Title = "AlternativeWeather", Version = "v1" });
    });
}
This method adds services to the container essentially configuring dependency injection. First the controllers are added to the container then the swagger generator its single swagger document. You could add other classes to the container here to be injected later by other classes via services.AddTransient or services.AddSingleton however dependency injection is another topic. If you add a reference to another project, assembly, or Nuget package this is most likely where you will configure those projects. Here is the Configure method:
// This method gets called by the runtime. Use this method to configure the HTTP request pipeline.
public void Configure(IApplicationBuilder app, IWebHostEnvironment env)
{
    if (env.IsDevelopment())
    {
        app.UseDeveloperExceptionPage();
        app.UseSwagger();
        app.UseSwaggerUI(c => c.SwaggerEndpoint("/swagger/v1/swagger.json", "AlternativeWeather v1"));
    }
    app.UseHttpsRedirection();

    app.UseRouting();

    app.UseAuthorization();

    app.UseEndpoints(endpoints =>
    {
        endpoints.MapControllers();
    });
}
This method configures the HTTP request pipeline, you can think of it as higher level then ConfigureServices where you can turn things on as well as configure them. You can see that for the development environment will use a developer exception page and will use swagger as well as specify its endpoint. The conditional for env.IsDevelopment() is determined by the project’s Properties, right click the project in Solution Explorer then click Properties, Debug section with the environment variables ASPNETCORE_ENVIRONMENT name value pair and not by the project’s current configuration. If you wanted to disable Https you can remove app.UseHttpsRedirection then go to the project’s Properties->Debug section to turn off Enable SSL. Another point of interest is app.UseRouting and app.UseEndpoints’ endpoints.MapControllers as this sets up the attribute routing. For conventional routing, you would need to specify your endpoints within app.UseEndpoints using route templates.
Swagger/OpenAPI
OpenAPI is a specification for describing REST APIs where Swagger is a product that works with the OpenAPI specification. Swagger offers a web UI that provides information about the web API and is customizable via XML comments, data annotations, attributes, and even injection CSS stylesheets. As seen above, swagger is defined in ConfigureServices and Configure which helps with debugging. You could also move the swagger code outside the env.IsDevelopment conditional to have an easy way for easy web API documentation for other users. Swagger UI will display the web API schema, endpoints, endpoint parameters, potential responses, and allow you to try the endpoint during debugging.
Debugging
If we hit F5 or click Debug->Start Debugging, you will see swagger at work.
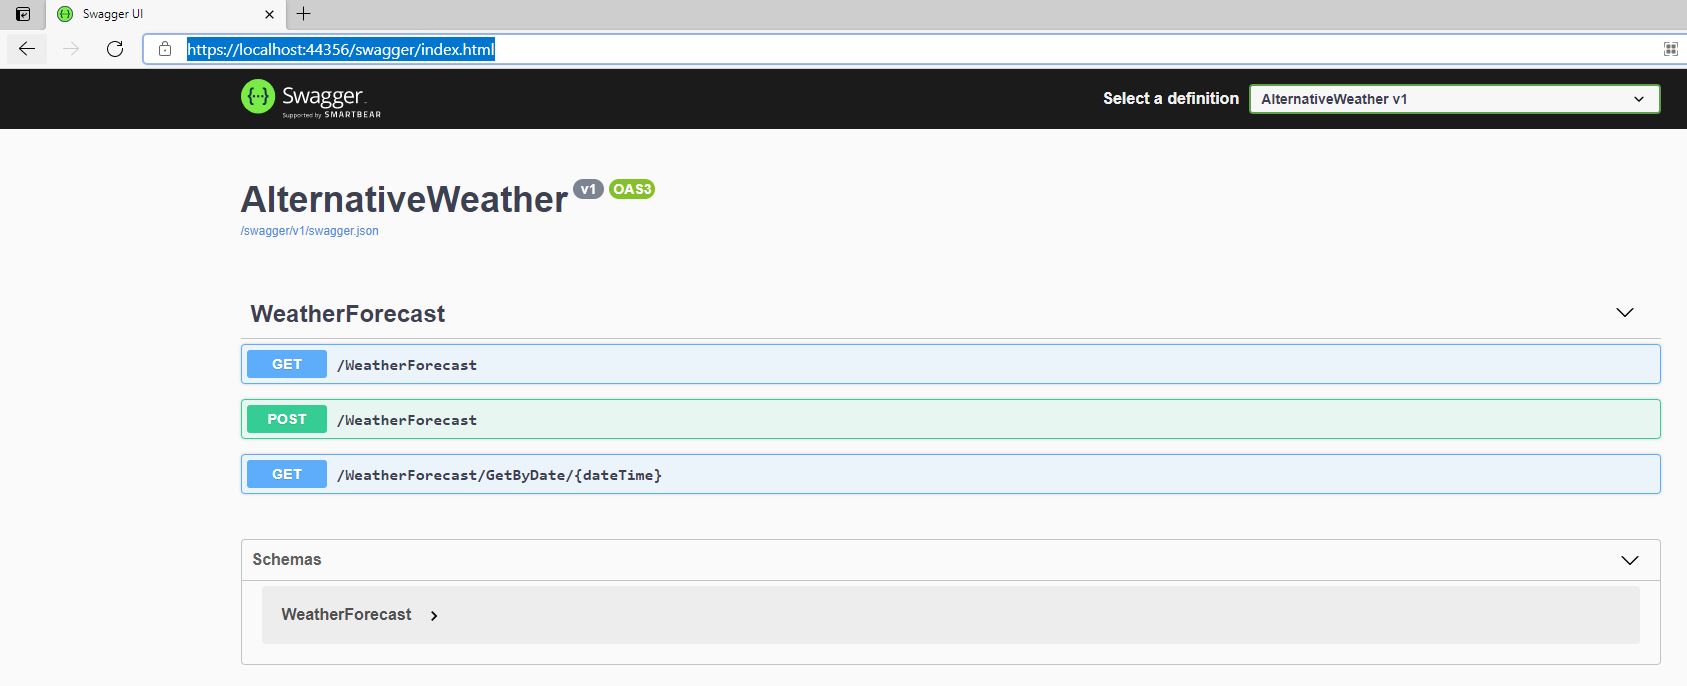
You can expand the endpoints by click on them and can even do some testing by clicking the “Try it out” button then the “Execute” button after adding any parameters required. This will show the response received from the web API allowing you to test out your web API and share how to use your web API.
Configurations
Configurations can be added via appsettings.json and can include any value that can be represented as a string. Keep in mind that passwords should not be stored in appsettings.json, instead look into user secrets or leveraging a continuous integration software. To access configurations within appsettings.json make calls to Configuration.GetValue from within the StartUp class’ Configure method leveraging dependency injection to pass on the configuration values.