
Visual Studio contains built in tools for Git version control. A developer can create remote, via GitHub, and local repositories, clone a repository, and switch between their local repositories. Branches can be created, deleted, merged, and managed from within Visual Studio as well as have their history viewed. When changes are made, these changes can be viewed, staged, stashed, or committed. Merge conflicts can be resolved via a three-panel difference window. Commits can be fetched and pulled from remote repositories and local commits can be pushed to remote repositories.
Create Repository
In Visual Studio, the options to create a repository are available when you have a solution or project opened that is not already part of a repository or if you have Visual Studio just open without any solutions or project opened.
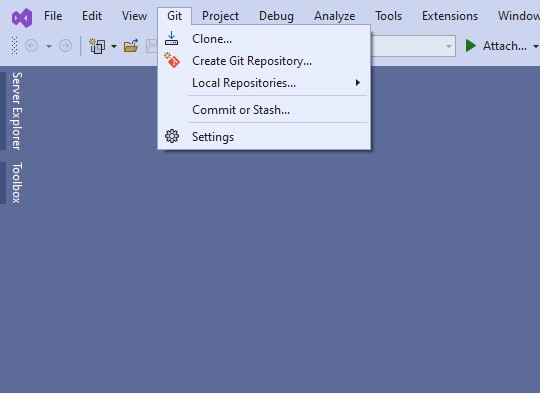
Once you click the Create Git Repository menu item or button, a Create a Git Repository window will appear.
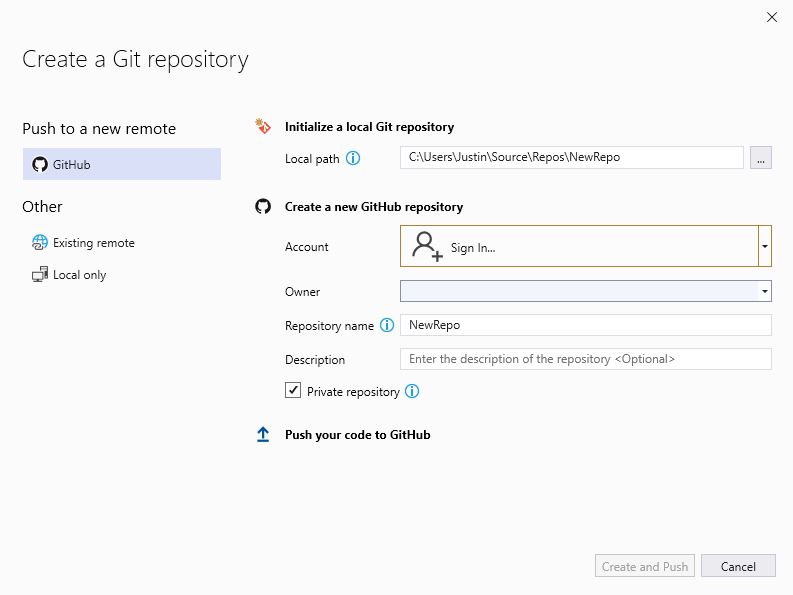
From here you can specify the local path, login to a GitHub account, enter the name, enter the description, and set the repository to private. Once you have everything set you can click the Create and Push button to create the repository.
Clone a Repository
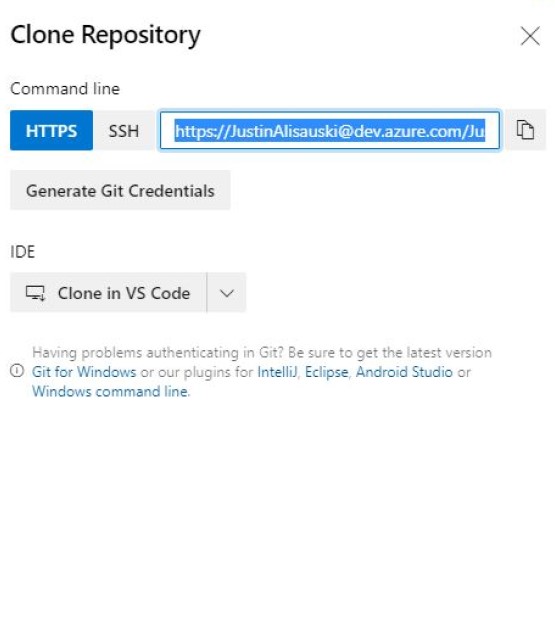
If the repository already exists, you can clone it by going to your Git services provider and retrieving the clone URL for that repository. Here is an example of getting the clone repository URL from Azure Repos:
Once you have the clone repository URL you can open the Clone a Repository window from Visual Studio by starting the Visual studio application or via the Git Changes window, when a repository is not already opened.
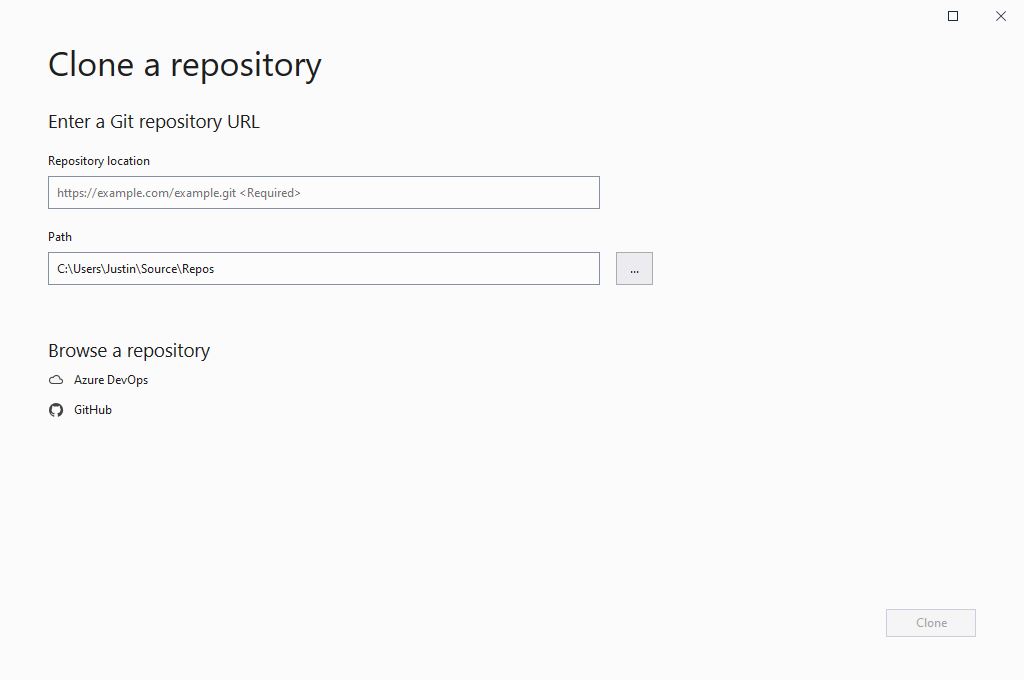
You can also open local repositories from the Git menu item.
Create a branch
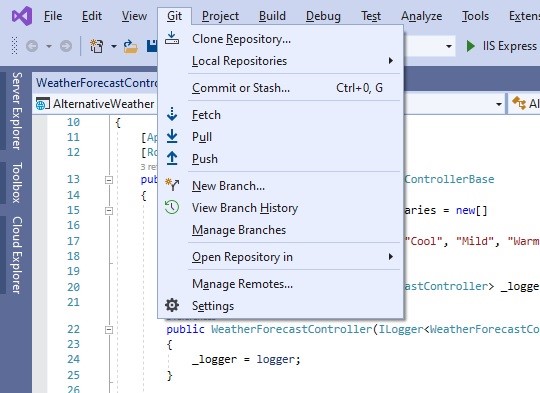
Usually before you get started on a task you will want to create a branch. This can be done from the Git menu item or from the branch drop-down in the Git Changes window.
With the Create a new branch window open you can specify the name of the branch, what branch it should be based on, and if you would like to checkout the branch.
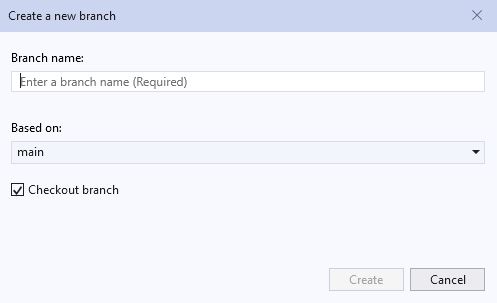
When I name a branch, I try to make it descriptive of what functionality is being introduced in that branch or what task that branch is going to complete. If I have a task or story identifier, I add it and if possible, I link the task or story to the branch so if it needs to be handed off to another developer it makes the transition smoother.
Make a change
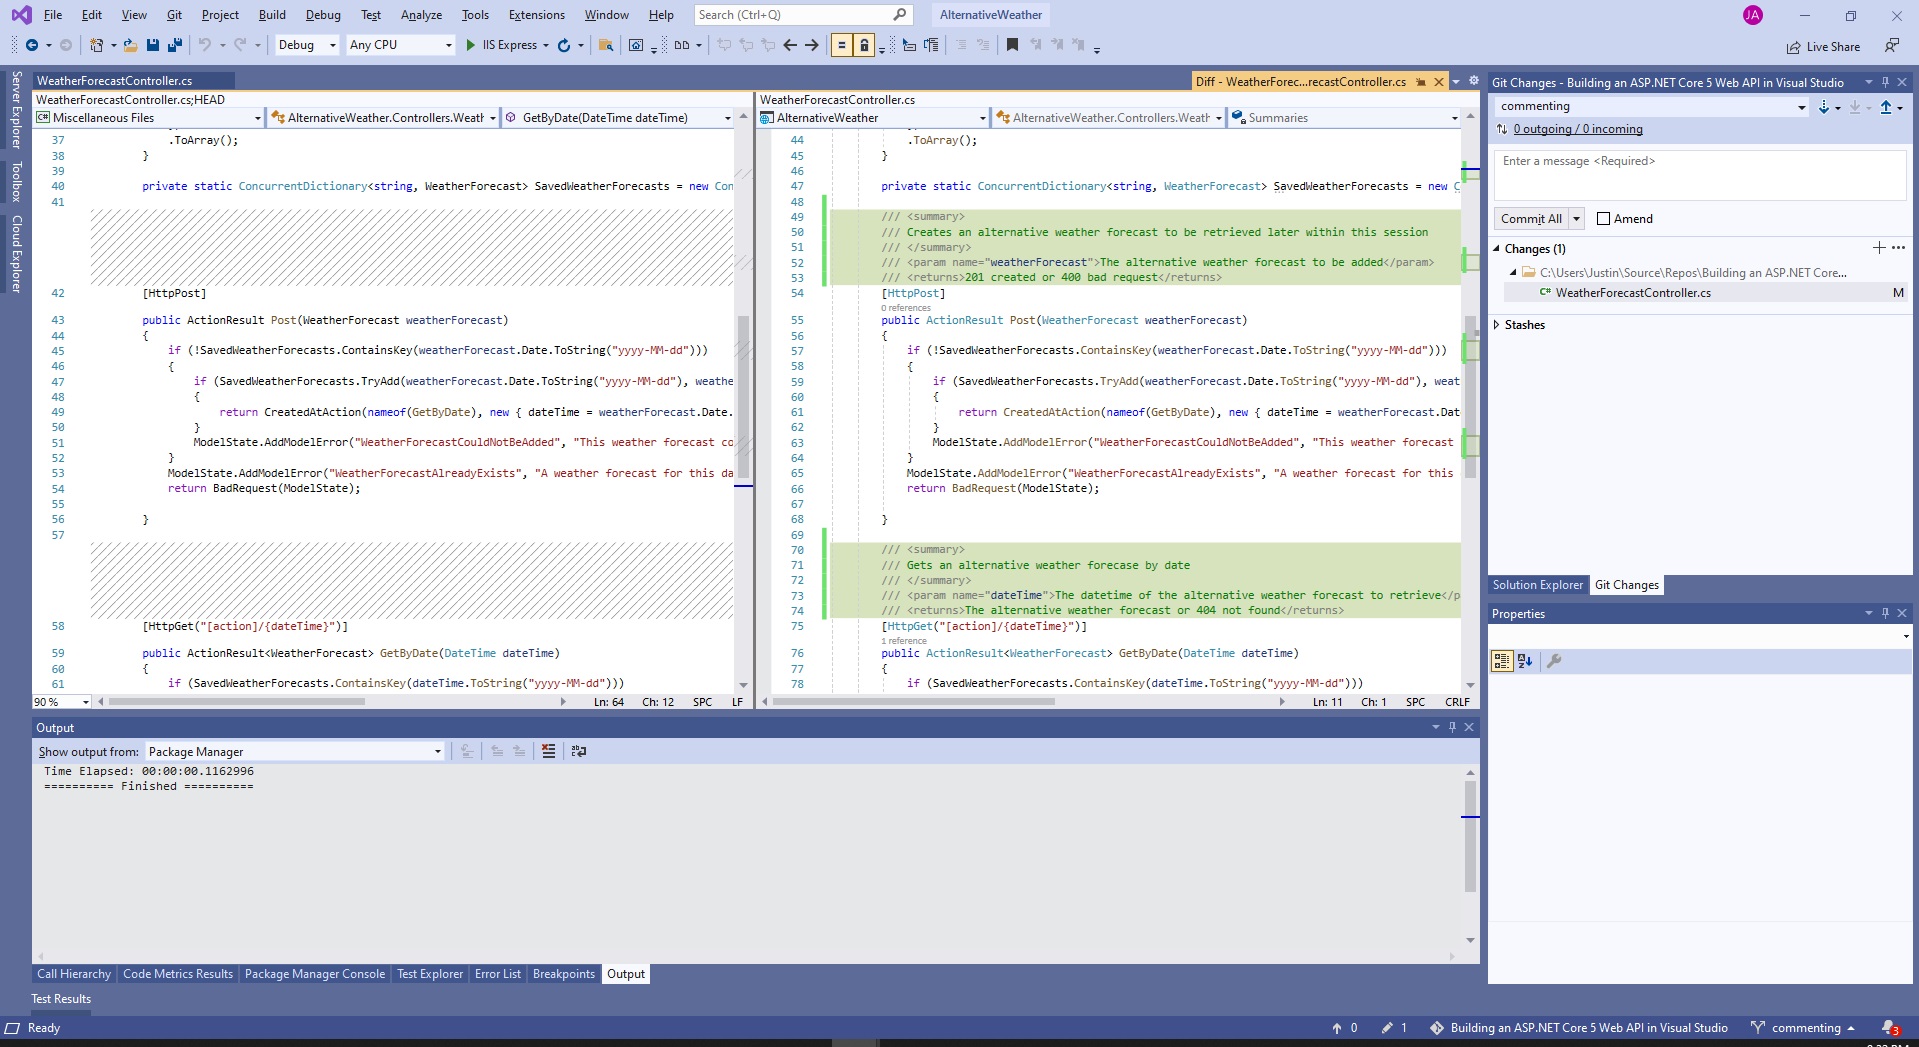
When you make a change, the file containing the change will appear within the Git Changes window. Opening or double-clicking the file will open a diff window where you can see the differences between the changes made and the remote version of the file.
It is a good idea to do some due diligence in checking that your changes apply to what this commit is going to achieve. Once you are done, fetch and pull changes from the remote repository using the down arrow buttons in the Git Changes window to make sure you have all the remote changes before you commit your changes. If a change has been made you will need to stash your changes to pull the remote changes, this can only occur if multiple users are working on the same branch.
Stashing changes
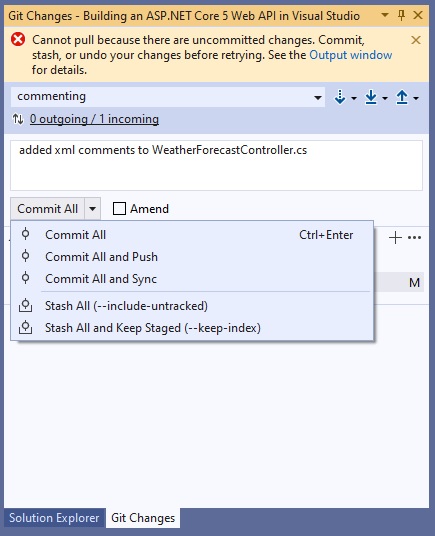
To stash changes, click the down arrow immediately next to the Commit All button and click the Stash All option.
With your changes stashed, you can now complete the pull and apply or pop your stash by right-clicking the stash item. Apply will keep the stash while pop will remove it once it has successfully been applied.
Resolving Conflicts
If there are conflicts you can open the unmerged change by double-clicking the file in the Git Changes window or by clicking the Open Merge Editor text.

A three-panel window will open with the top left panel representing the stashed file, the top right file is the local file, and the bottom is the resulting file. You can either click the check boxes next to the change to pick the correct version or manually type in the result panel. Click the Accept Merge button to resolve the conflicts. You can now add a description for the commit, commit the changes, and push them to the remote repository.
Merge Branches
After you are done committing your changes to the branch you will want to merge the branch back into its parent. To do this, click the branch drop-down in the Git Changes window, click the parent branch, and click checkout. Make sure you fetch and pull remote changes and then click the branch drop-down, click the changed branch, then click the Merge into Current Branch option, and click the Yes button. If there are conflicts, you will need to resolve them as mentioned above. Once done, you can delete the change branch from the local and remote repositories.
Manage Branches
In the Git menu item, click the Manage Branches option.
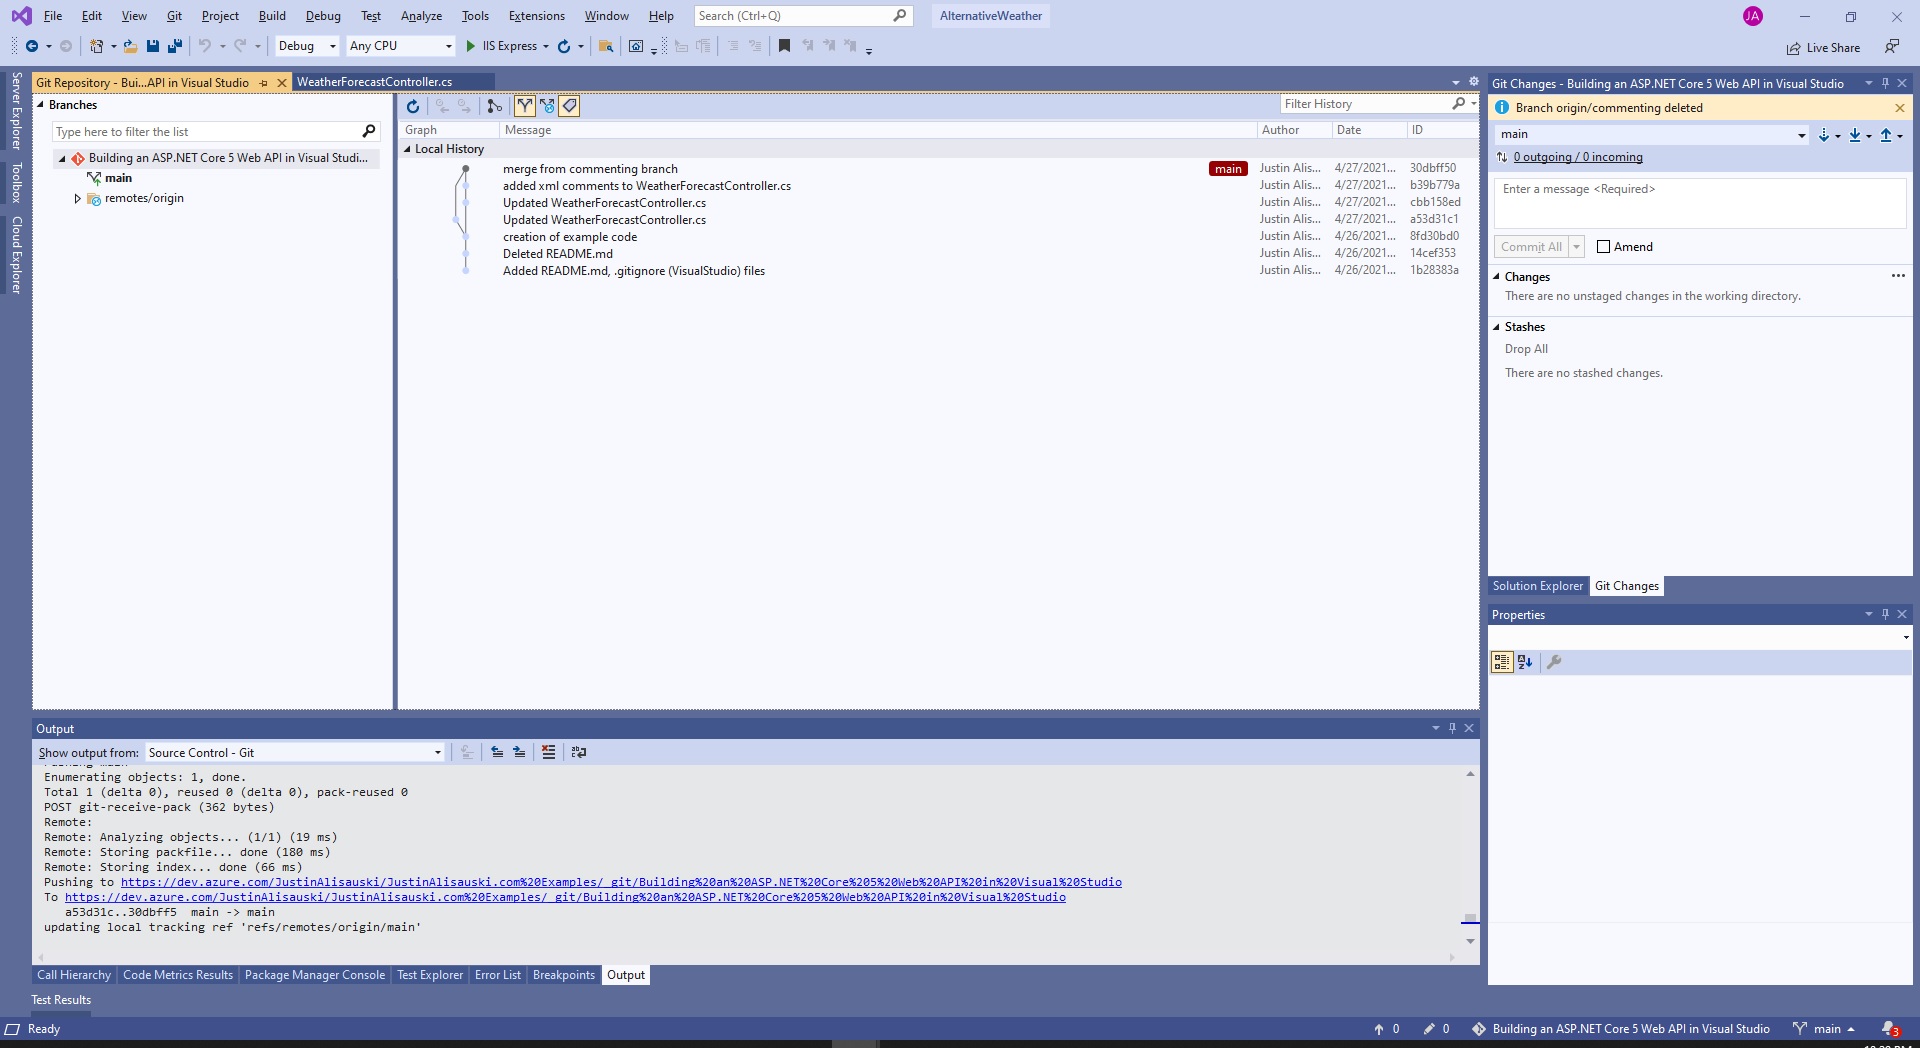
From here you can view local and remote branches as well as branch history by selecting the branch. Right-clicking a branch will give you options to checkout, merge, rebase, unset, and other options for that branch. If you right-click on a commit in the history panel, you can view commit details, tag, create a new branch from the commit, and other options based on the commit. You can also view the branch history by right-clicking the branch and clicking View History from the branch drop-down in the Git Changes window.